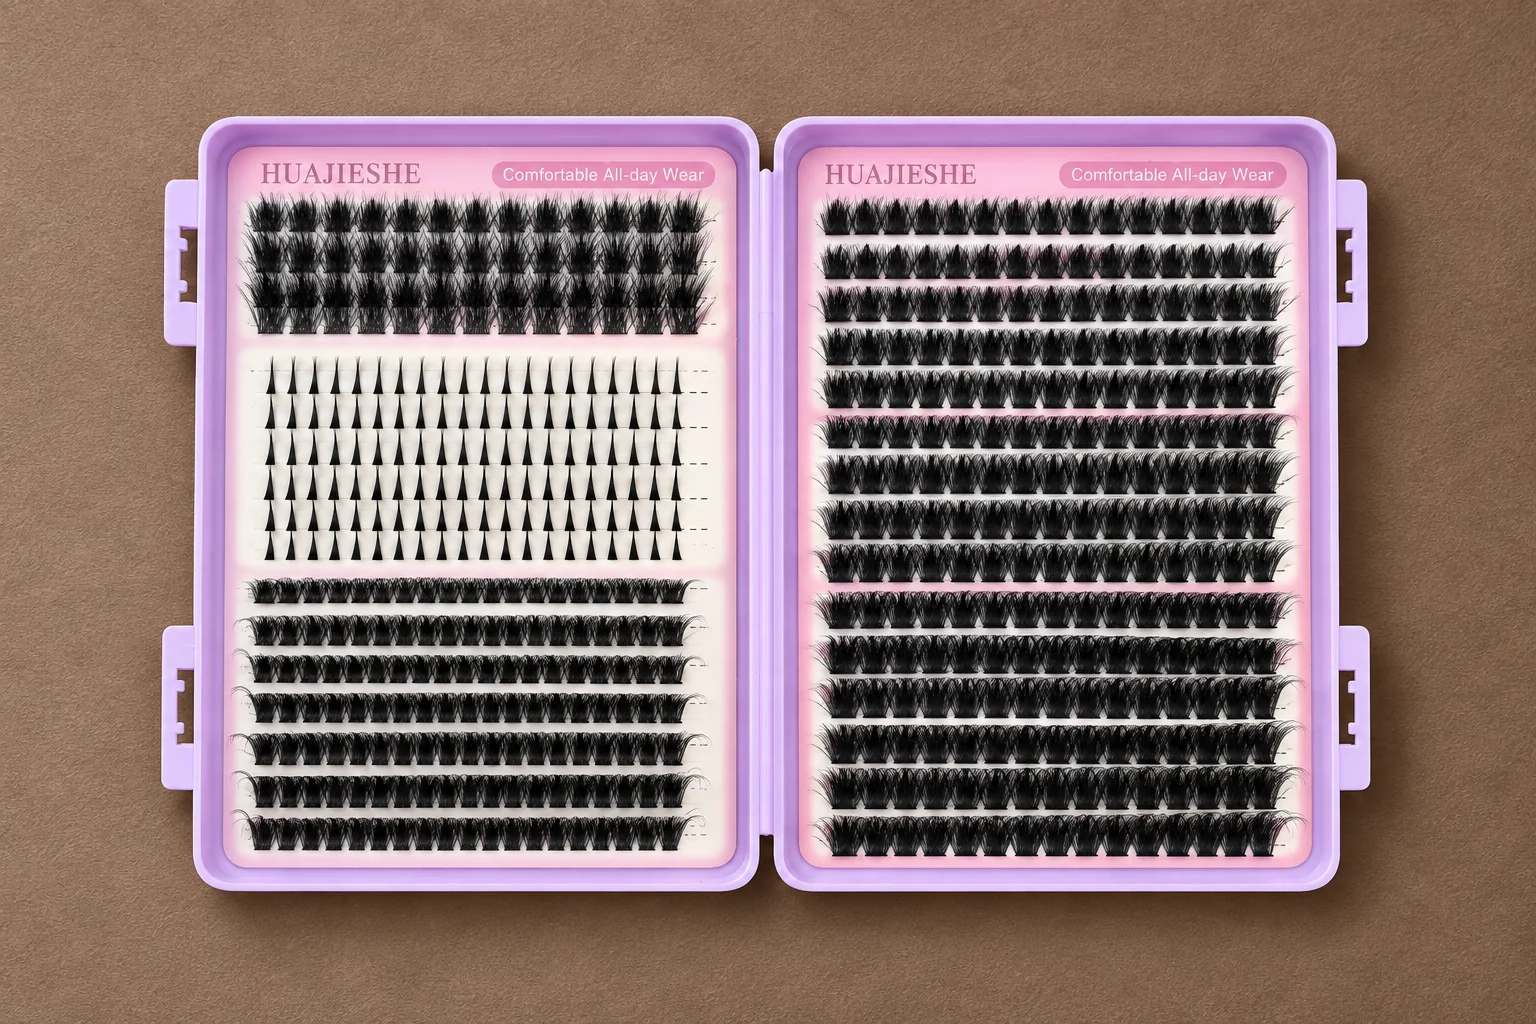
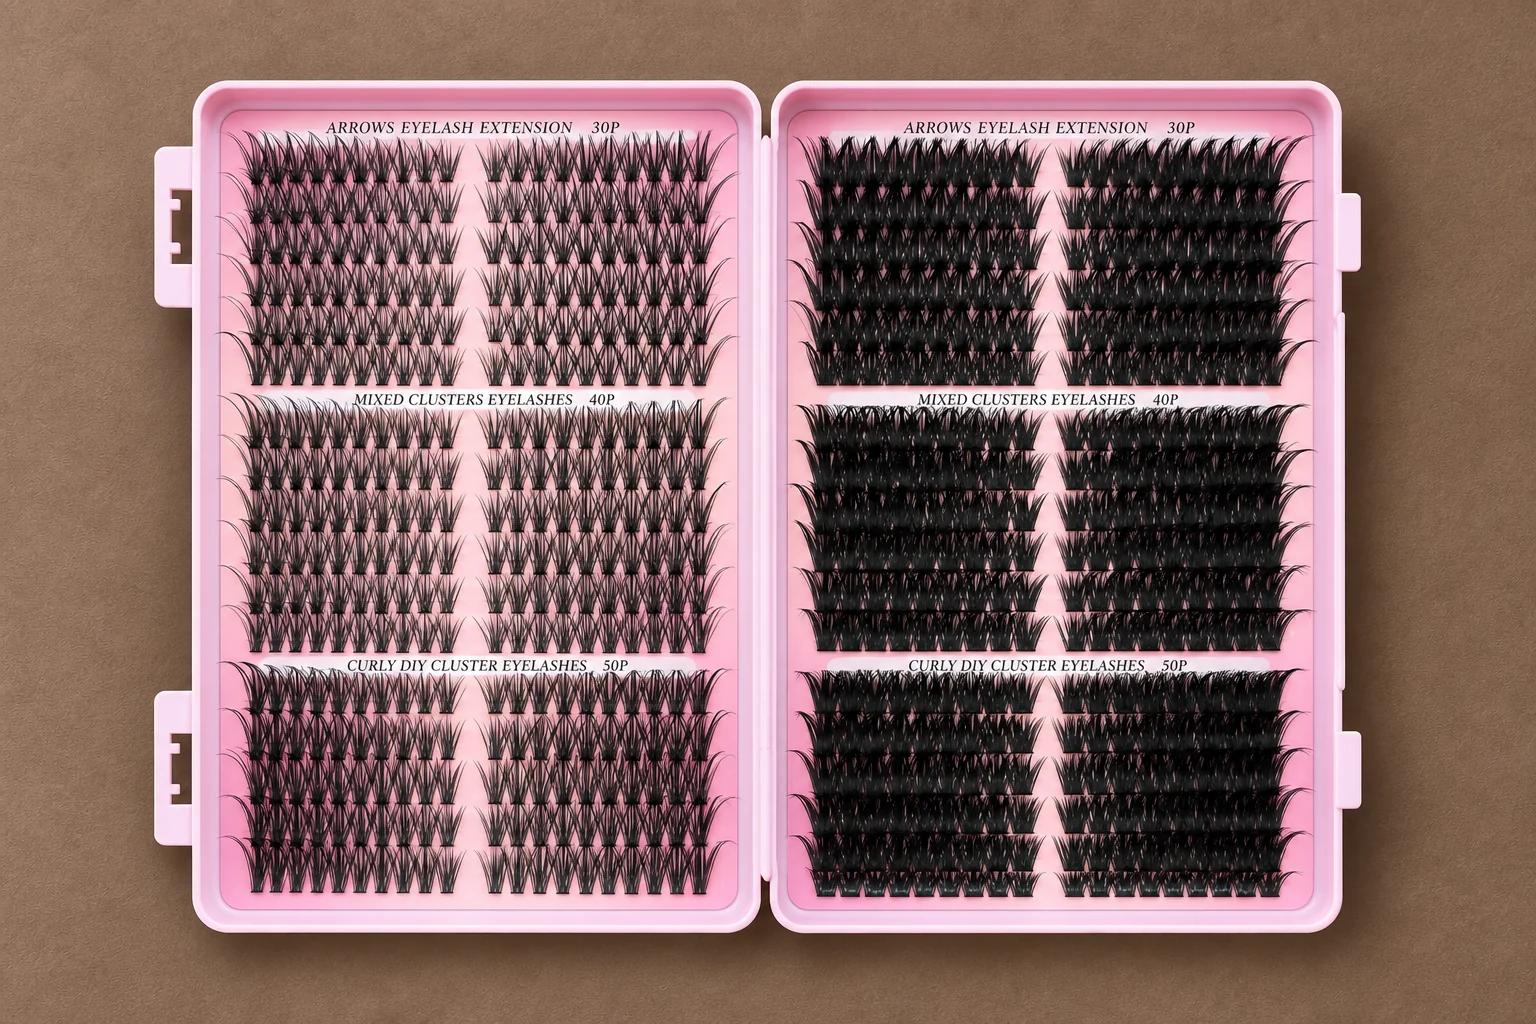
Start with the product your packaging needs to hold. Confirm the lash configuration, the contents of each box and how the product will be presented. Then decide whether an existing packaging option can accommodate your brand or whether the box, insert card and tray need to be planned together.
This sequence gives the packaging discussion a practical basis. A reference image can explain the appearance you want, but the final choice also needs to work with your actual product.
Define the contents before choosing the appearance
List what belongs in one sellable package. Identify whether it holds professional lash extensions or DIY lash clusters, the selected configuration and the requested contents per box. List accessories separately and have their inclusion confirmed.
Next, describe how the package will be used. Will customers compare several styles on a shelf, choose products from online photographs or identify different trays in a salon? These questions help you decide which product details should be easy to find and which parts of the pack need your branding.
For a mixed cluster tray, settle the intended arrangement before finalizing the surrounding packaging. Our mixed-tray planning guide explains how to describe that configuration.
Compare two starting points
LOKNZW discusses both branding on selected packaging and the coordination of the box, insert card and lash tray. The available solution is reviewed against the product and project requirements.
| Starting point | When to discuss it | What to confirm |
|---|---|---|
| Add branding to selected packaging | An available package already suits the product and its arrangement | Brand placement, product wording, print layout, available options and charges |
| Plan the packaging components together | The product arrangement or presentation needs changes across the box, card or tray | Product fit, component layout, feasibility, branding scope, sample needs, quantity and cost |
Changing the whole package is not a requirement for having your own brand. Equally, keeping an existing box is only useful if it suits the product you want to sell. Make the choice from the required changes, rather than from a photograph of the outside alone.
Give each component a clear job
Use separate names for the box, insert card and lash tray when you discuss changes. Their arrangement varies by packaging format, so confirm which components your selected option actually uses.
The box provides the outer presentation. The card may carry branding or product information. The tray organizes the lash product. Review the complete arrangement so that a change to one part does not leave another part mismatched.
For example, moving from one tray layout to another may affect the space available for printed information. Before approving artwork, check that the product name, specifications and brand placement refer to the same configuration shown in the packaging proposal.
Separate essential changes from preferences
Prepare two short lists. Essential changes are the details your product needs in order to fit and be identified correctly. Preferences describe the appearance you would like the supplier to explore.
An essential change might be correcting the specification printed on the card. A preference might be moving the logo to a different position. Keeping the two lists separate helps the supplier explain which options are available and what each proposal includes.
When comparing proposals, ask what changes between them: the component arrangement, the branding work, the sample scope or the quoted cost. Avoid approving a general description such as “custom packaging” without an itemized understanding of the work.
Choose the right way to review the proposal
A design proof is useful for checking spelling, product wording, layout and brand position. It cannot by itself show how the finished package feels or how its components fit together. A screen view is also not a substitute for reviewing a physical print when the printed appearance is part of your decision.
Decide which questions remain after reviewing the design. If you need to inspect the physical fit or finished presentation, discuss a sample that includes the relevant components and branding. Confirm its scope and charges before preparation.
Keep the approved design version with the sample review. If the product configuration changes afterward, review any packaging details affected by that change rather than assuming the previous approval still covers them.
| Reference you review | Decision it supports | Still to confirm |
|---|---|---|
| Catalog or inspiration photo | Preferred appearance and arrangement | Exact components, dimensions, current availability and permission to use artwork |
| Artwork proof | Wording, layout and brand placement | Physical fit and printed appearance when these matter to the decision |
| Physical sample | The components and configuration actually supplied | Any later revision, quantities, minimum, fees and production timing |
Keep the reference, approved artwork and physical-sample notes as separate records. Similar insert cards do not prove that several distinct box formats are available. Confirm the specific packaging proposal through the private-label process.
Use a packaging decision sheet
Complete one record for each product configuration. Leave undecided choices as questions for the supplier.
| Decision | Your notes |
|---|---|
| Product code or reference and tray configuration | — |
| Contents of one sellable box | — |
| Intended use: online sale, retail display, salon or another channel | — |
| Existing packaging option being considered | — |
| Components that need to change | — |
| Brand position and product wording | — |
| Essential changes | — |
| Appearance preferences | — |
| Questions the design proof must resolve | — |
| Questions requiring a physical sample | — |
| Quantity, destination and timing to discuss | — |
Turn your choice into a specific packaging request
Send your product reference with the decision sheet and any packaging images you want to use as references. Identify what you like about each image—such as the brand position or product arrangement—so the supplier can discuss that feature in relation to your own product.
Explore LOKNZW private-label lash packaging to compare the available starting points. For the wider process, including brand files and order confirmation, use our private-label order preparation guide.
Have a product in mind? Discuss its packaging with us. Share what the box needs to contain and which decisions are still open.